As the air turns crisp and the leaves begin to fall, there’s no better time to infuse your home with the warmth and coziness of the season. While store-bought decorations are convenient, nothing beats the personal touch and satisfaction of creating your own fall decor. Whether you’re a seasoned crafter or a DIY newbie, these projects are simple, fun, and perfect for adding a unique, authentic touch to your space. Let’s dive into some DIY fall decor ideas that will help you craft a cozy, inviting atmosphere for the season.
1. Rustic Pumpkin Centerpieces

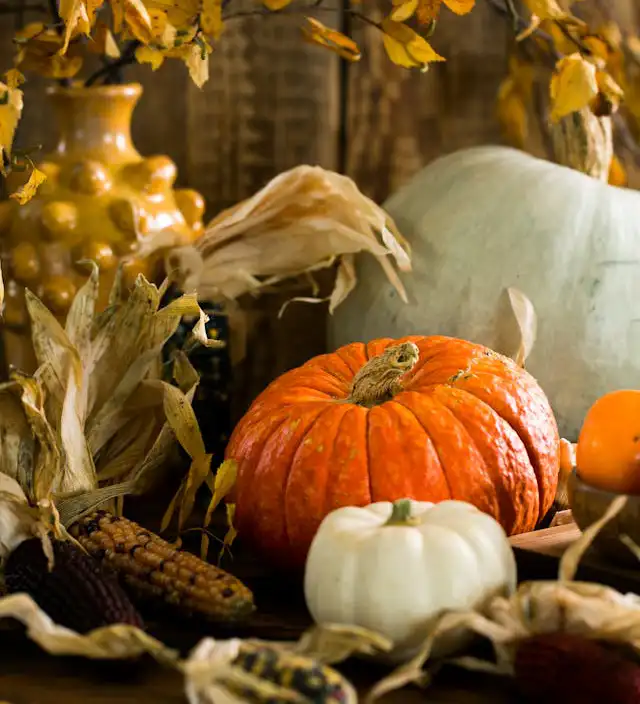
Pumpkins are the quintessential symbol of fall, and you can easily create a rustic centerpiece that brings a warm, seasonal touch to your dining table or mantel.
What You’ll Need:
- Mini pumpkins or gourds
- Burlap or twine
- Hot glue gun
- Dried flowers, wheat stalks, or faux leaves
- Wooden tray or shallow basket
Instructions:
- Prepare the Pumpkins: Wrap the stems of your mini pumpkins or gourds with burlap or twine, securing the ends with hot glue. This adds a rustic, farmhouse touch to the pumpkins.
- Arrange in a Tray: Place the pumpkins in a wooden tray or shallow basket. You can mix in different sizes and colors for added visual interest.
- Add Dried Flowers: Tuck in dried flowers, wheat stalks, or faux leaves around the pumpkins to fill in any gaps and add texture. Play around with the arrangement until you’re happy with how it looks.
- Display: Place your finished centerpiece on your dining table, mantel, or entryway table to create a welcoming fall display.
Extra Tip: For an extra festive touch, add a few small candles or fairy lights to your centerpiece to create a warm glow.
2. Hand-painted Fall Signs

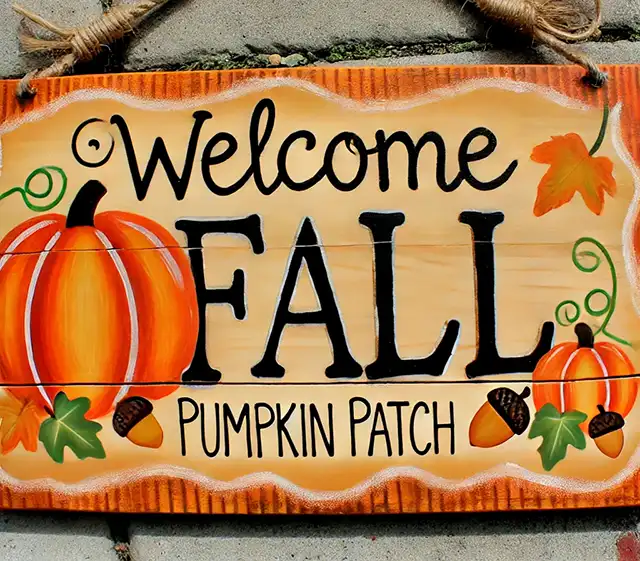
Create a personalized fall sign that you can hang on your front door, porch, or inside your home. This project is easy to customize and adds a charming, handmade touch to your decor.
What You’ll Need:
- Wooden board or pallet
- Acrylic paint in fall colors
- Paintbrushes
- Stencils (optional)
- Sandpaper
- Twine or ribbon for hanging
Instructions:
- Prepare the Wood: Start by sanding down your wooden board or pallet to ensure it’s smooth. Wipe away any dust with a cloth.
- Paint the Background: Choose a base color for your sign, such as white, beige, or a soft fall hue. Apply a coat of paint to the board and let it dry completely.
- Add Your Design: Use stencils or freehand paint a fall-themed phrase or image onto the sign. Popular phrases include “Welcome Fall,” “Harvest Blessings,” or simply “Pumpkin Patch.” Add decorative elements like leaves, pumpkins, or acorns if desired.
- Distress the Edges: For a vintage look, lightly sand the edges of the sign to give it a worn, rustic appearance.
- Hang the Sign: Attach twine or ribbon to the back of the sign for hanging. Display it on your front door, porch, or anywhere inside your home where you want to add a festive touch.
Extra Tip: Use metallic paint for accents to add a bit of shimmer and make your sign stand out.
3. Cozy Knit or Crochet Pumpkins
If you enjoy knitting or crocheting, these adorable pumpkins are a fun way to bring soft, cozy textures into your fall decor. They’re perfect for adding a handmade touch to your space.
What You’ll Need:
- Yarn in fall colors (orange, brown, cream)
- Knitting needles or crochet hook
- Fiberfill stuffing
- Cinnamon sticks or twigs for stems
- Yarn needle
Instructions:
- Create the Pumpkin Body: Follow a simple knit or crochet pattern to create the body of the pumpkin. You can find free patterns online for various sizes and shapes.
- Stuff the Pumpkin: Once the body is complete, fill it with fiberfill stuffing to give it shape.
- Close and Shape: Use a yarn needle to gather the top and bottom edges of the pumpkin, pulling tightly to close and shape it. Secure the yarn with a knot.
- Add the stem: Insert a cinnamon stick or twig into the top of the pumpkin to serve as the stem. You can secure it with a bit of hot glue if needed.
- Decorate: If desired, add a little bow made of twine or a fabric leaf near the stem for extra charm.
Pro Tip: Make pumpkins in various sizes and colors to create a cute, cozy display on your mantel, coffee table, or shelves.
4. Mason Jar Candle Holders

Mason jars are a versatile crafting staple, and they make lovely candle holders that can add a warm, ambient glow to your fall decor.
What You’ll Need:
- Mason jars
- ModPodge or craft glue
- Fall-themed paper napkins or tissue paper
- Sponge brush
- Twine or ribbon
- Tea lights or small candles
Instructions:
- Prepare the Jars: Clean and dry your Mason jars. Remove any labels or stickers.
- Apply Mod Podge: Using a sponge brush, apply a thin layer of Mod Podge or craft glue to the outside of the jar.
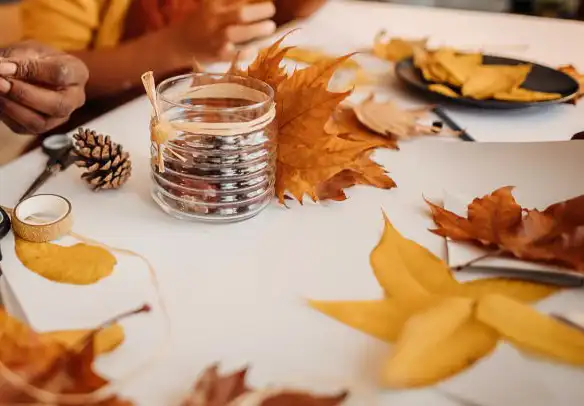
- Add the Paper: Carefully wrap the jar with fall-themed paper napkins or tissue paper. Smooth out any wrinkles or bubbles with your fingers.
- Seal the Paper: Apply another layer of Mod Podge over the paper to seal it. Let it dry completely.
- Add twine: Wrap the neck of the jar with twine or ribbon and tie a bow for a rustic finish.
- Insert Candles: Place a tea light or small candle inside each jar. When lit, the candle will cast a warm, cozy glow through the paper.
Extra Tip: Group several jars together to create a stunning centerpiece for your dining table or mantel.
5. Fall Leaf Garland

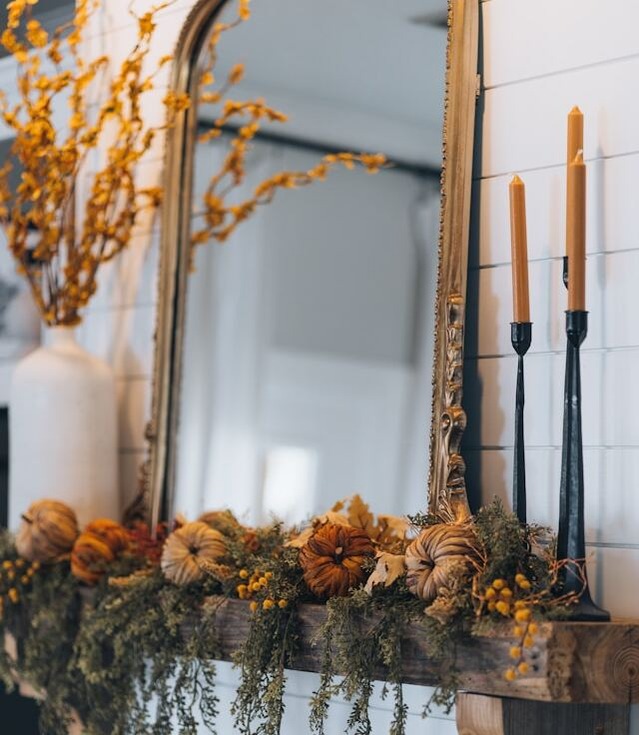
Capture the beauty of autumn leaves with a DIY garland that’s perfect for draping across your mantel, staircase, or doorway.
What You’ll Need:
- Faux fall leaves (available at craft stores)
- Twine or string
- Hot glue gun
- Scissors
- Pinecones, acorns, or berries (optional)
Instructions:
- Prepare the Leaves: Lay out your faux fall leaves and trim any excess stems. You can use a variety of colors and sizes for a more natural look.
- Cut the twine: Measure and cut a length of twine or string to the desired length of your garland.
- Attach the Leaves: Using a hot glue gun, attach the leaves to the twine, spacing them out evenly. Alternate the colors and sizes for visual interest.
- Add Natural Elements: For added texture, glue on small pinecones, acorns, or faux berries between the leaves.
- Hang the Garland: Once the garland is complete, hang it across your mantel, along a staircase, or above a doorway to bring a touch of fall into your home.
Extra Tip: Add small battery-operated fairy lights to your garland for a magical, twinkling effect.
Final Thoughts
Crafting your own fall decor is a rewarding way to bring the warmth and beauty of the season into your home. These DIY projects are not only budget-friendly but also allow you to add a personal touch to your space, making it truly your own. Whether you’re creating a rustic pumpkin centerpiece or a cozy knit pumpkin, each piece you make will help transform your home into a welcoming autumn retreat. So, grab your crafting supplies, get creative, and enjoy the process of making your space feel cozy and inviting this fall.

Leave a Reply