Painting walls is one of the most rewarding and impactful DIY projects that any homeowner can do. Whether you’re refreshing a room or giving it a whole new look, a fresh coat of paint can breathe life into your living space. In this guide, we’ll lead you through DIY painting wall project step-by-step, sharing tips and personal experiences along the way to help you have a fun and successful painting trip.
Choose Your colors
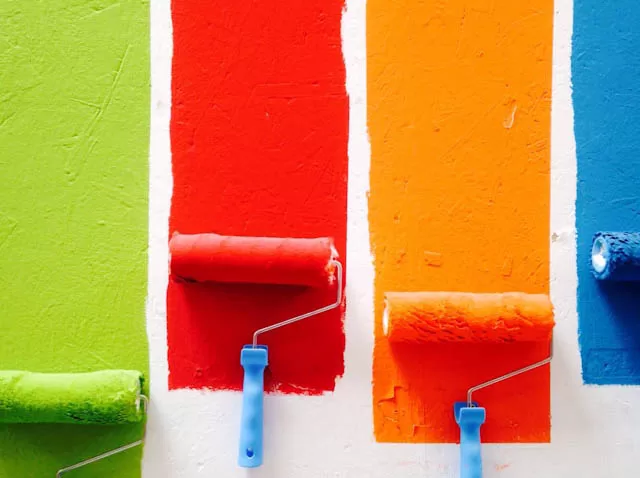
Choosing the right paint colors may have significantly impact on the mood and ambiance of a room. Consider the natural light, existing furniture colors, and your personal taste. Remember, lighter colors can make a room feel larger, while darker tone add drama and coziness. choose high-quality paint meet your needs. Matte color for a smooth, elegant finish, satin for a slight sheen that’s easy to clean, or semi-gloss for high-traffic areas like kitchens and bathrooms.
Prepare The Room
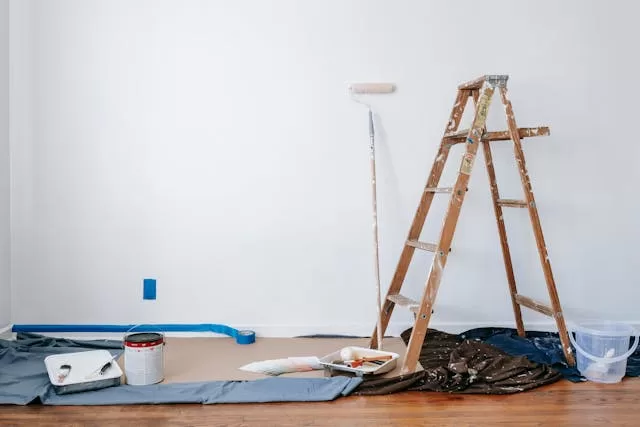
Before you even pick up a paintbrush, prepare the stage of your work space for a smooth process and a professional-looking finish. Start by clearing the room of furniture or moving all to the center. Remove any fixtures, wall lights, wall art, hooks, outlet covers, and switch plates.
Prepare The Walls
It’s time to prep the walls themselves. Inspect any holes and cracks and dent them carefully, then start filling them with spackling compound. You may need to apply a second layer for deeper holes. To have a clean and smooth filling, use a clean puffy knife to remove excess, then let the fillings dry. It takes approximately 1–5 hours to get completely dry. Once it gets dry, sand the area with soft sandpaper (180-240 grit) or a sanding sponge until it is smooth. Then use a damp sponge or cloth to clean the walls from dust and grime. Or use clean microfiber mop dust vertically up to down. If your walls have grease or stubborn stains, a mild detergent solution should do the trick.
Extra Tip:
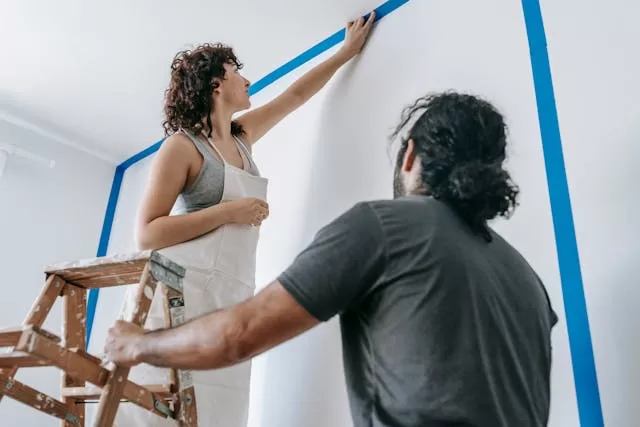
When I painted my bedroom last spring, I found that spending extra time on prep work paid off immensely. Taking the time to patch up old nail holes and sanding down rough spots ensured a flawless finish once the paint went on. Sanding could be an overwhelming process, but take your time and get rest when it is unsustainable and forcing one to create a clean canvas. Use painter’s tape to protect baseboards, trim, and any areas you don’t want to paint by accident. To prevent paint from leaking underneath or bleeding through, firmly press the painter’s tape into place. Choose the right painter tape for the job. Some tapes are perfect for detailed works that are clean and crisp, while others are perfect for textured paint surfaces. Apply tape in short strips to have more control over to make straight line along. Cover the floor and all furniture with plastic drop cloths; wear old clothes and a hat. Now, you are all set, grab your painting tools and materials and let the job be done.
Apply Primer (if needed)
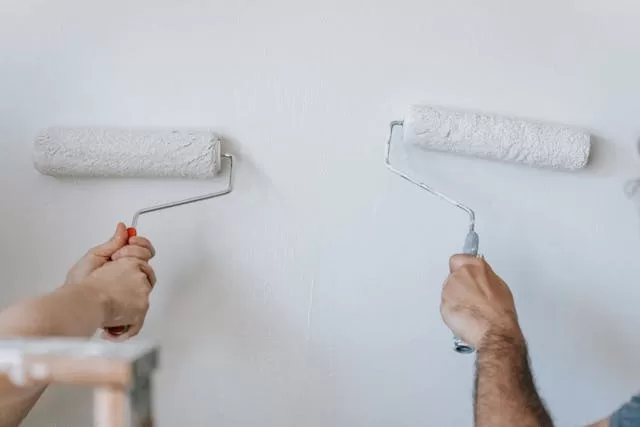
Priming isn’t always necessary, especially if you’re painting over a similar color with a high-quality paint that includes primer. However, for drastic color changes or if your walls are heavily stained or porous, a coat of primer can enhance the paint’s adhesion and durability. As primers are more budget-friendly, applying a coat before the first layer of paint can cost less while enhancing paint coverage and adhesion. For applying primer, you need a brush for edges and corners and a paint roller for the cover surface. And a paint tray. First, paint with 3–4 inches angle brush along all edges of the wall and corners. Then work on the main part of the wall and roll over, top to bottom, in W-shaped strokes. Let it dry completely before painting.
Now for the fun part—painting! Start by cutting in with a brush around the edges of the walls, corners, and trim. Use smooth, even strokes to create a crisp line. Then, use a roller to fill in the larger sections of the wall. Roll in a “W or M pattern” to evenly distribute the paint and avoid streaks or lap marks. Be generous with the paint, but avoid overloading your roller—you don’t want drips! Two thin coats are usually better than one thick one. Be patient; let the first coat dry completely before applying the second. Depending on the type of paint, it will take between 2 and 4 hours to dry completely. Between rounds, keep the paint roller in a plastic bag to prevent it from drying. If you are working in a larger area, mix paint gallons together to achieve a uniform result.
Let it Dry and Clean up all the Mess
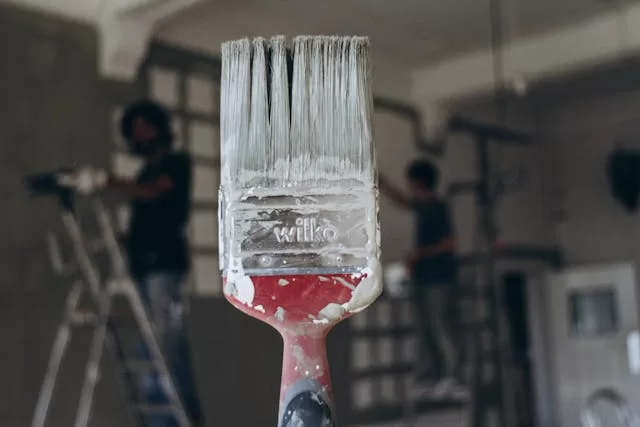
After applying the final coat, carefully remove the painter’s tape while the paint is still slightly tacky; if it stays too long, it may cause peeling on the paint. When your are done with the paint, Clean your brushes and rollers thoroughly with soap and water, and seal any remaining pain in a container or can for your next DIY painting wall project.
Clean up any dips. Dispose of all drop cloths and any other leftovers responsibly. After the paint has dried completely, reattach outlet covers, switch plates, shelves, mirrors, and any other fixtures you removed. Final DIY projects—they’re both rewarding and empowering.
Painting your walls is a budget-friendly way to have a significant impact on overall look of design. Plus, there’s a certain satisfaction that comes from making your space beautiful with your own two hands. Now you know that with proper preparation, the right tools, and a bit of patience, you can achieve professional-looking results that will leave you feeling proud of your DIY project. So go ahead, grab that paintbrush, and transform your walls into a canvas of color and style!
Happy painting!

Leave a Reply